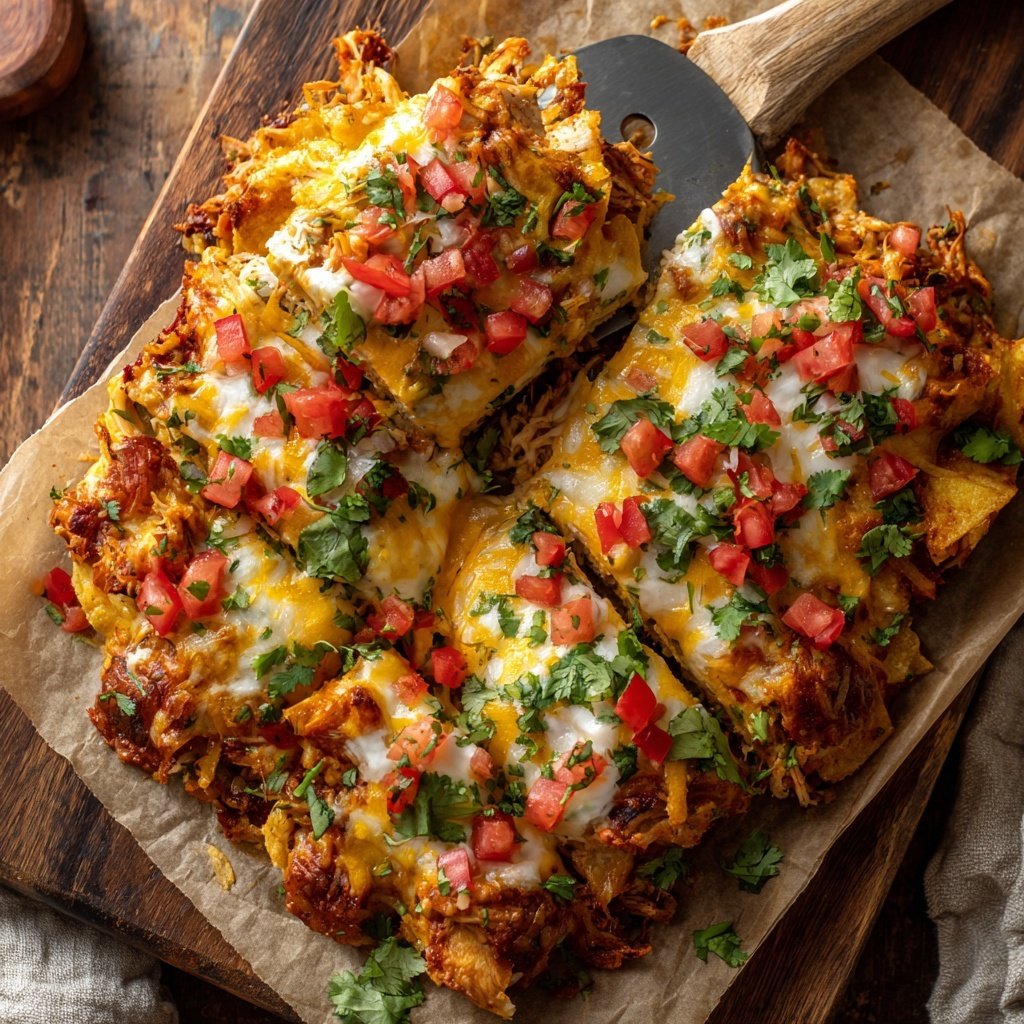
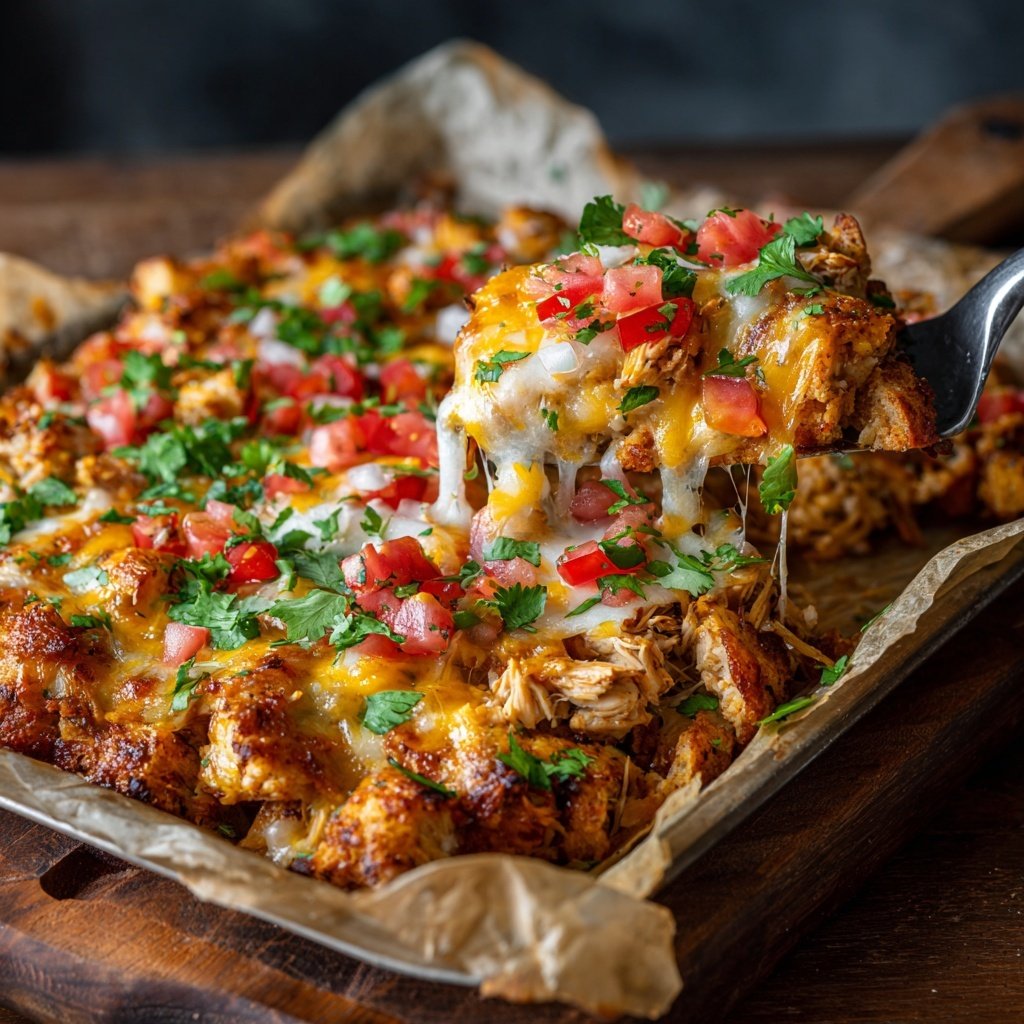
Rotisserie Chicken Taco Casserole
Highlighted under: Family Comfort Plates
I love making this Rotisserie Chicken Taco Casserole when I want a quick, flavorful dinner that brings the whole family together. Using a store-bought rotisserie chicken not only saves time but also adds an incredible depth of flavor to the dish. Paired with layers of cheesy goodness, beans, and a delightful kick from taco seasoning, this casserole is a perfect weeknight meal. Trust me, once you try it, you'll wonder how you ever got by without this easy recipe in your repertoire!
One evening, after a long day, I was craving something comforting yet effortless. That’s when I decided to whip up this Rotisserie Chicken Taco Casserole using my local grocery store's rotisserie chicken. The idea of combining all my favorite taco ingredients into a hearty casserole not only satisfied my cravings but also made my kitchen smell heavenly!
As I layered the chicken with beans, cheese, and tortillas, I realized that the secret lies in the seasoning and how it melds together in the oven. Baking it for just the right amount of time creates that perfect harmony of flavors. I recommend letting it sit for a few minutes once out of the oven to help set the layers, making it easier to serve!
Why You'll Love This Recipe
- Rich flavors of taco seasoned chicken in every bite
- Easy layers of ingredients make prep a breeze
- Cheesy topping that satisfies every cheese lover
Ingredient Insights
Using a rotisserie chicken not only accelerates the prep time but enhances the flavor profile of this casserole. The seasoned meat infuses the dish with depth, requiring minimal seasoning adjustments. Opt for a chicken that’s well-roasted with crispy skin, as this adds a delightful texture and taste. If you don't have a rotisserie chicken on hand, you can use leftover grilled or baked chicken, ensuring it’s seasoned according to your preference.
The combination of black beans and corn is integral for both texture and nutrition. The beans provide a creamy consistency, while the corn gives a sweet crunch, balancing the spiciness of the taco seasoning. If you're looking for a healthier twist, organic black beans or even kidney beans can serve as excellent substitutes. Just make sure to rinse them thoroughly to eliminate excess sodium.
Layering Techniques
Layering is key to achieving the perfect texture and flavor blend in your casserole. Start with a solid base of tortilla chips to absorb the moisture from the chicken and salsa, ensuring they won't become soggy. When laying the chips, try to overlap them slightly for an equal filling distribution, which helps each bite pack the perfect mix of flavors. If you prefer extra crunch, bake the tortilla chips for a few minutes prior to layering.
When layering the chicken mixture, it's essential to spread it evenly so every portion gets a taste of that taco flavor. I recommend using a spatula to carefully flatten the layers. If you wish to experiment, consider adding other ingredients like diced bell peppers or jalapeños in between layers for extra flavor and heat. Just be cautious not to overload, as it could affect cooking times and the outcome.
Ingredients
Ingredients
For the Casserole
- 1 rotisserie chicken, shredded
- 1 can black beans, rinsed and drained
- 1 cup corn
- 1 packet taco seasoning
- 4 cups tortilla chips
- 2 cups shredded cheddar cheese
- 1 cup salsa
- 1/2 cup sour cream
- 2 green onions, chopped
Gather all the ingredients before you begin for a smoother cooking process!
Instructions
Instructions
Preheat the Oven
Preheat your oven to 350°F (175°C).
Prepare the Chicken
In a large bowl, combine the shredded rotisserie chicken with taco seasoning, corn, and black beans. Mix well.
Layer the Casserole
In a 9x13 inch baking dish, place a layer of tortilla chips, then add half of the chicken mixture, followed by half of the salsa and cheese. Repeat the layers.
Bake
Cover the casserole with aluminum foil and bake for 20 minutes. Remove the foil, add the remaining cheese, and bake for an additional 10 minutes until bubbly.
Serve
Let the casserole cool for 5 minutes, then top with sour cream and green onions before serving.
Enjoy your delicious casserole with your favorite side dishes!
Pro Tips
- To add some spice, consider adding jalapeños to the layers or topping the casserole with fresh avocado slices before serving.
Make-Ahead and Storage
This casserole is an excellent candidate for make-ahead meals. Prepare the layers in advance and assemble the casserole but hold off on baking it. Wrap it tightly in plastic wrap or aluminum foil and store it in the fridge for up to 24 hours. When ready to bake, remove it from the refrigerator and let it sit at room temperature for about 30 minutes before baking to ensure even cooking.
Leftovers can be refrigerated for three to four days. To reheat, cover the casserole with foil to prevent drying out and bake at 350°F (175°C) for about 15-20 minutes until heated through. If you love crispy edges, uncover it during the last five minutes to re-crisp the top.
Serving Suggestions
Serving this Casserole is as fun as making it. I like to set up a taco bar with assorted toppings so guests can customize their portions. Consider adding toppings like sliced avocados, fresh cilantro, jalapeño slices, or diced tomatoes for freshness. A side of lime wedges also brightens the dish beautifully.
You can also pair it with a side salad or some Spanish rice to make it a complete meal. If you're hosting a party, using small individual baking dishes instead of a single casserole can enhance presentation and provide portion control for guests.
Questions About Recipes
→ Can I make this casserole vegetarian?
Absolutely! You can substitute the chicken with a mix of beans such as pinto and kidney beans.
→ How do I store leftovers?
Store leftovers in an airtight container in the refrigerator for up to 3 days. Reheat in the oven for the best texture.
→ Can I freeze this casserole?
Yes, you can freeze the assembled but uncooked casserole for up to 2 months. Just bake from frozen, adding extra time as needed.
→ What can I serve with this dish?
This casserole goes well with a fresh salad, guacamole, or some tortilla chips on the side!
Rotisserie Chicken Taco Casserole
Created by: Marianne Hughes
Recipe Type: Family Comfort Plates
Skill Level: Easy
Final Quantity: 6 servings
What You'll Need
For the Casserole
- 1 rotisserie chicken, shredded
- 1 can black beans, rinsed and drained
- 1 cup corn
- 1 packet taco seasoning
- 4 cups tortilla chips
- 2 cups shredded cheddar cheese
- 1 cup salsa
- 1/2 cup sour cream
- 2 green onions, chopped
How-To Steps
Preheat your oven to 350°F (175°C).
In a large bowl, combine the shredded rotisserie chicken with taco seasoning, corn, and black beans. Mix well.
In a 9x13 inch baking dish, place a layer of tortilla chips, then add half of the chicken mixture, followed by half of the salsa and cheese. Repeat the layers.
Cover the casserole with aluminum foil and bake for 20 minutes. Remove the foil, add the remaining cheese, and bake for an additional 10 minutes until bubbly.
Let the casserole cool for 5 minutes, then top with sour cream and green onions before serving.
Extra Tips
- To add some spice, consider adding jalapeños to the layers or topping the casserole with fresh avocado slices before serving.
Nutritional Breakdown (Per Serving)
- Calories: 480 kcal
- Total Fat: 22g
- Saturated Fat: 10g
- Cholesterol: 75mg
- Sodium: 780mg
- Total Carbohydrates: 38g
- Dietary Fiber: 7g
- Sugars: 5g
- Protein: 30g